Please see 10 Steps to Scanning, Preserving and Sharing Your Photos (Part 1) for the first three steps in this project to scan your precious family photographs.
Step 4: Choose Your Scanner
There are different types of scanners available. Some are better for photographs, and some for documents. Some are wonderful for taking on trips or using while sitting on your sofa, while others are best on your desk beside your computer. You want to be sure you are using the right one to scan those precious family photos you recently organized.
Flatbed Scanners
Flatbed scanners can scan different sizes of photographs. These scanners allow you to scan more than one photo at a time, then crop the main image into individual files later. For options see Flatbed Scanners – Which One is Right for You?
Portable Flatbed Scanners
There are portable flatbed scanners such as the Flip-Pal which is best for photos no larger than 4×6”. I love the Flip-Pal but it is a personal choice. View this free video class on the Flip-Pal - New Genealogy Technology: Flip-Pal Mobile Scanner in the Legacy library.
Handheld Scanners
There are also handheld scanners available. If you are happy with the scanner you have, check to see if you can change your settings to the preferred format (.tif or .png) and resolution (600 dpi or 300 dpi).
Using Your Cell Phone as a Scanner
There are apps that allow you to use your cell phone as a portable handheld scanner. These are very handy if you are out a library or archives and don’t have any other method of capturing an image but I can’t recommend them for scanning your treasured family photos.
Step 5: Clean Your Scanner
It’s a good idea to clean your scanner bed with a dry cloth like the kind you clean your eyeglasses with. You will probably want to wipe it down every so often if you are scanning lots of photos. Don’t use liquid to clean the bed.
You’re almost ready to start scanning but there are a few more decisions to be made.
Once you are ready to scan, I suggest scanning one sorted box of photos at a time, scanning them and transferring them to your computer before you continue with a second box. As you complete each batch of scanning, you will probably also want to rename your files from the file name assigned by your scanner.
Step 6: Naming Your Image Files
Consistency. That’s the key for naming your image files. Decide on a consistent naming system. Stick to it. I like to name mine in this order:
surname-firstname-event-location-year
So an example for a photo of Lillian Fuller taken in Guelph Ontario ca 1924 would be “fuller-lillian-guelph-ca1924” followed by the file extension
I don’t use underscore to separate words for two reasons:
- I am too lazy to hit Shift and the Underscore key
- Underscores are often illegible when viewing in a URL in a browser, or even when typing out or printing a local file path.
It’s also not adviseable to put spaces between words. I do not use any upper case in the file names but that’s a personal choice.
Step 7: Add MetaData to Your Image Files
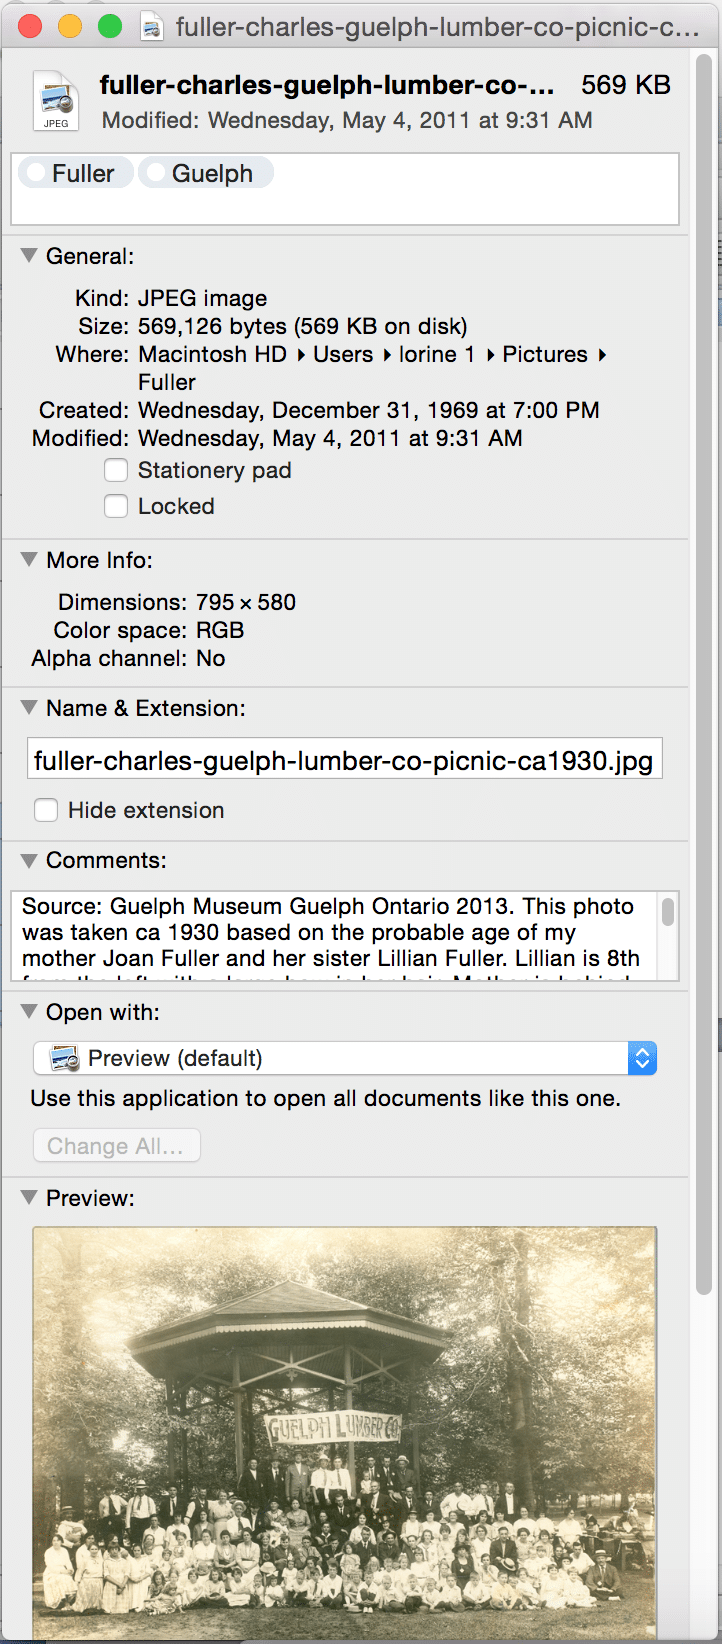
Metadata is data describing context, content and structure of documents. With each document you can add metadata which includes words and properties to a document to help search for it in the future. I add the details and the source in my metadata.
One way to add metadata is to use a directory program such as Windows Explorer. Find an image file then click only once on the image. On the bottom of your screen you will see various metadata fields such as author, subject, tags, etc. Click the fields to add your information. Photo editing programs such as Adobe Photoshop Elements and Adobe Lightroom have built in functionality to help you add metadata.
This is a photo of the Guelph Lumber Company Picnic.
The Guelph Museum sent a copy of this photo to me but they did not know the year or who any of the individuals were. But I recognized my grandfather, grandmother, mother and aunt.
Based on the estimate of my mother’s age I calculated the approximate year the photo was taken. So I added that info to the metadata.
Step 8: Add Tags
Add tags to your image files. Tags are like keywords. They help you find certain people or topics. So for the photo of the Guelph Lumber Co. Picnic I used the tag Fuller (for my family) and Guelph (so I can more easily find any photos I have that relate to Guelph)
Step 9: Back up Your Image Files
You’ve saved all your scanned photos to your computer hard drive. Now you need to make some backups. Your choices include:
* Cloud storage such as Dropbox, Bitcasa, iDrive, Amazon Cloud, Google Drive, etc.
* Burn to a CD Rom to keep or share with others
* Save to a portable hardrive such as Western Digital Passport
* Save to a personal cloud storage system such as Western Digital MyBookLive
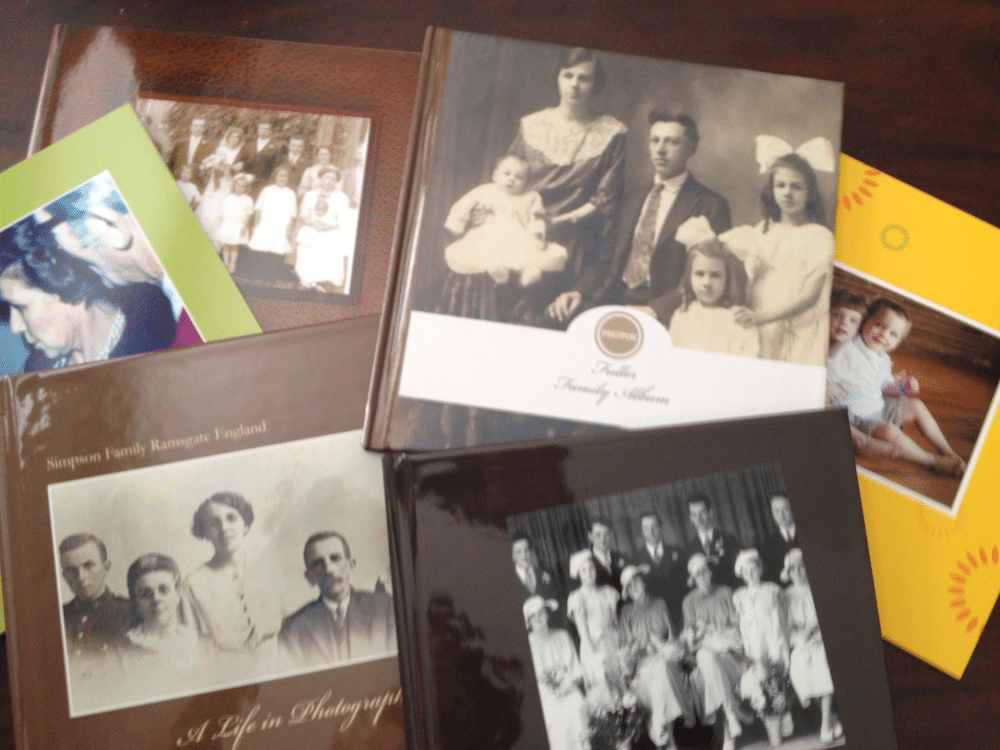
* Create a Photo Book through an online self-publishing service such as Shutterfly. You can publish copies for family members and keep one for yourself.
Personally I do all of the above except burning my files to a CD Rom. I do not recommend a flash or thumb drive for storage backup as these devices are meant for temporary storage, not permanent storage of files.
Whichever method(s) you choose, remember that technology changes very rapidly and if you choose the CD Rom for example, eventually it will not be viewable by anyone or it will degrade. That is why my motto is to never put all my eggs in one basket!
Step 10: Editing Your Scanned Photos
I don’t recommend cropping out backgrounds or the original edging of an older photograph. Even though Aunt Edna may be a tiny figure surrounded by houses, lamp poles, and sidewalk, if you crop the photo to show just Aunt Edna, you lose any historical or personal significance to the photo. You lose clues – perhaps one of those houses in the background is your great-grandmother’s house!
I do straighten an image if it scanned at an angle.
If I am going to adjust the colour (Darken, lighten, etc) or do any editing of the actual photo, I save the original scanned image and work only on a copy.
Summary
Don’t let what is probably a large project overwhelm you. Break it into smaller chunks. Only scan one box or one pile of photos at a time. Scan a bit every day rather than spending hours and making mistakes or exhausting yourself. Make it fun! Enjoy looking at your wonderful memories. You will be so proud of yourself when you finish and you’ll no doubt feel relief that not only have you preserved your precious family photographs but you can easily share them with others.
Be sure to see "Digital Images for Genealogists and Technologists: Scanning, Organizing, Editing, and Sharing Your Digital Images" by Geoff Rasmussen in the Legacy Webinar Library. You can also check out the Digital Imaging Essentials book by Geoff Rasmussen.
Photo Credits: All photos by Lorine McGinnis Schulze
Lorine McGinnis Schulze is a Canadian genealogist who has been involved with genealogy and history for more than thirty years. In 1996 Lorine created the Olive Tree Genealogy website and its companion blog. Lorine is the author of many published genealogical and historical articles and books.


Hi Bonnie
Looks like you sorted the way I sort 🙂 Loved your story and I hope one day you do find out the name of that sailor.
I hope you saw my earlier articles on organizing photos
10 Easy Steps to Organizing Family Photos Part I
http://news.legacyfamilytree.com/legacy_news/2015/11/10-easy-steps-to-organizing-family-photos-part-i.html
10 Easy Steps to Organizing Family Photos Part II
http://news.legacyfamilytree.com/legacy_news/2015/12/steps-to-organizing-family-photos-part-2.html